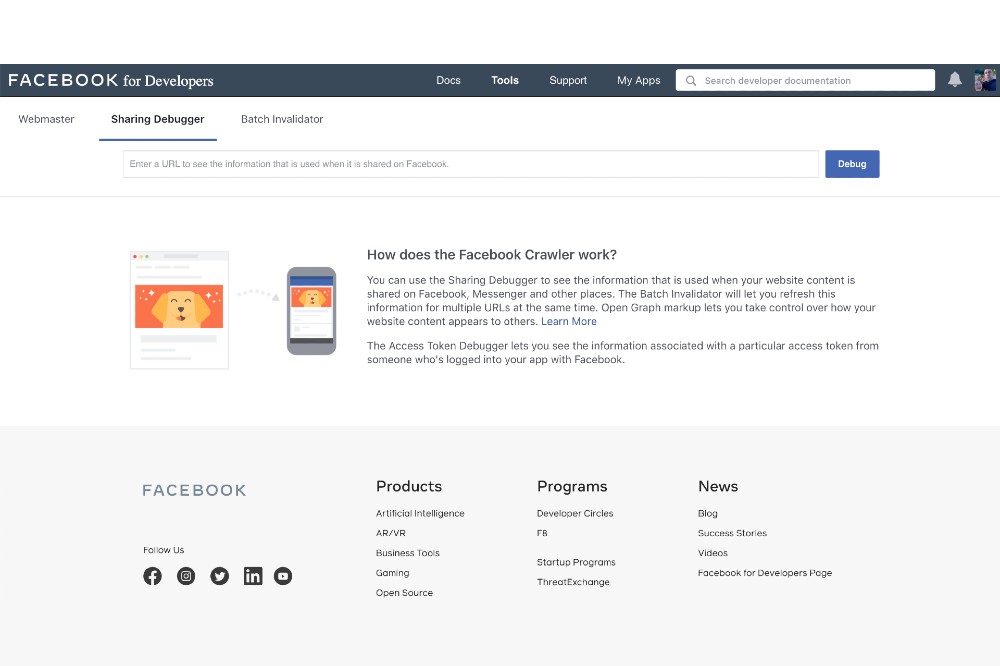
Top Tips : How to Use the Facebook Debugger to Fix Any Errors in Your Post
Have you ever published a post on your website, uploaded it to your Facebook page only to discover Facebook displays the wrong image or text. If the answer is yes, don’t worry you are not alone!This mini guide will teach you how to use the Facebook Debugger tool, what it is, and how to craft the perfect messaging in your Facebook post.
How Does Facebook Decide What Information To Display For A Website Post
Whenever you share a website link to Facebook, Facebook automatically creates the following results
- Image
- URL
- Title
- Summary
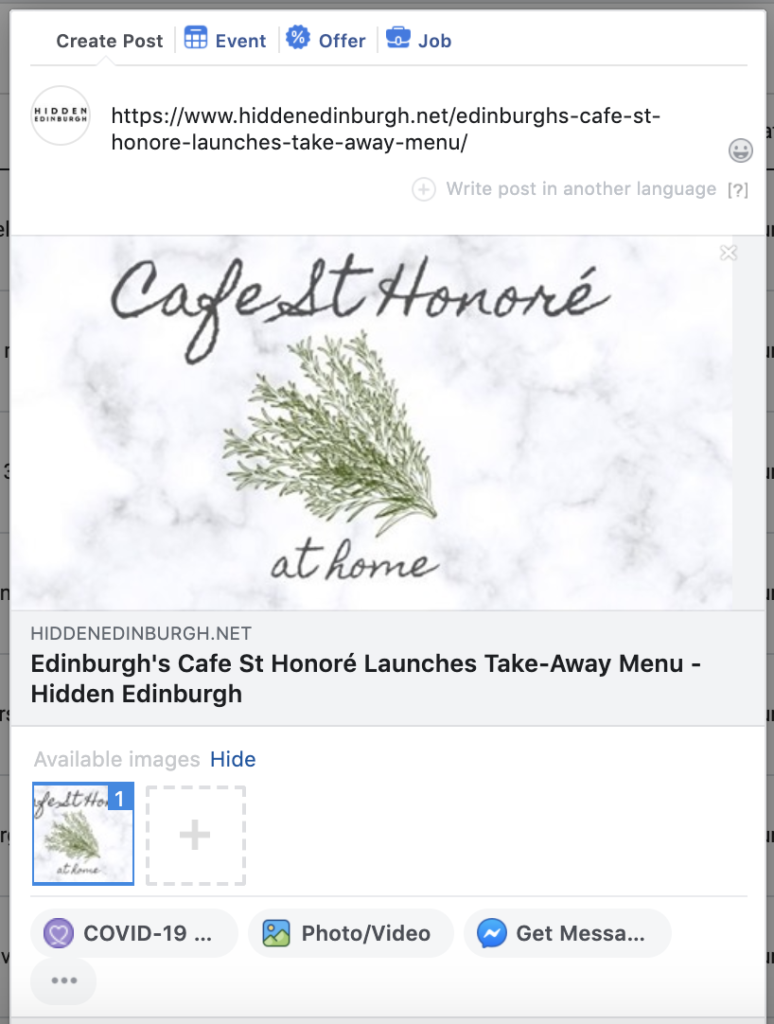
When you upload a URL to Facebook, Facebook’s crawler will scrape your pages HTML code and pull out data to generate the code.
Rather than just allowing Facebook to guess what image, and text to display, Facebook has something called Open Graph meta data og tags which sit within the HTML of the page.
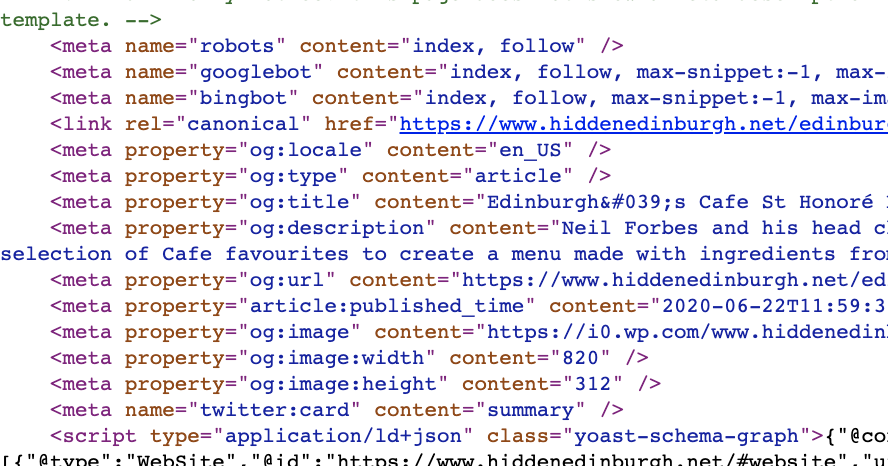
You may have never heard of Open Graph Data before, however there is a chance you already use it on your WordPress website as both Yoast SEO and All in One SEO Pack offer this functionality.
Facebook Caches Your Open Graph Data
Facebook can work quickly as it caches content, this means once you have uploaded a URL to Facebook it takes a copy of it onto its servers. So the next time someone shares that same link on Facebook, Facebook will just display the information from its own cache, rather than scraping your site again.
This is really important because if you make a mistake in your open graph meta data, it will stay the same until Facebook recaches the website.
This leads to two issues:
- If there is an error in your Open Graph data, it will be showed incorrectly every time someone shares it on Facebook.
- Even when you fix the error on your website Facebook will hold a cache of the older version of your page.
This is where Facebook’s Debugger Tool comes into play.
How To Use Facebook Debugger To Fix Open Graph Data Issues
The first thing to do is go to the Facebook Debugger page and input the URL which is causing an issue and hit debug.
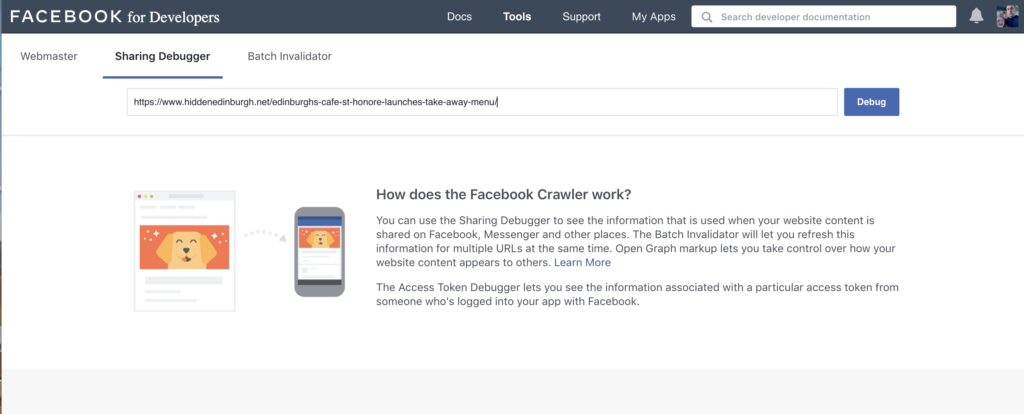
developers.facebook.com/tools/debug/
Facebook will then display what info it has cached on your page and when it last scraped the website.
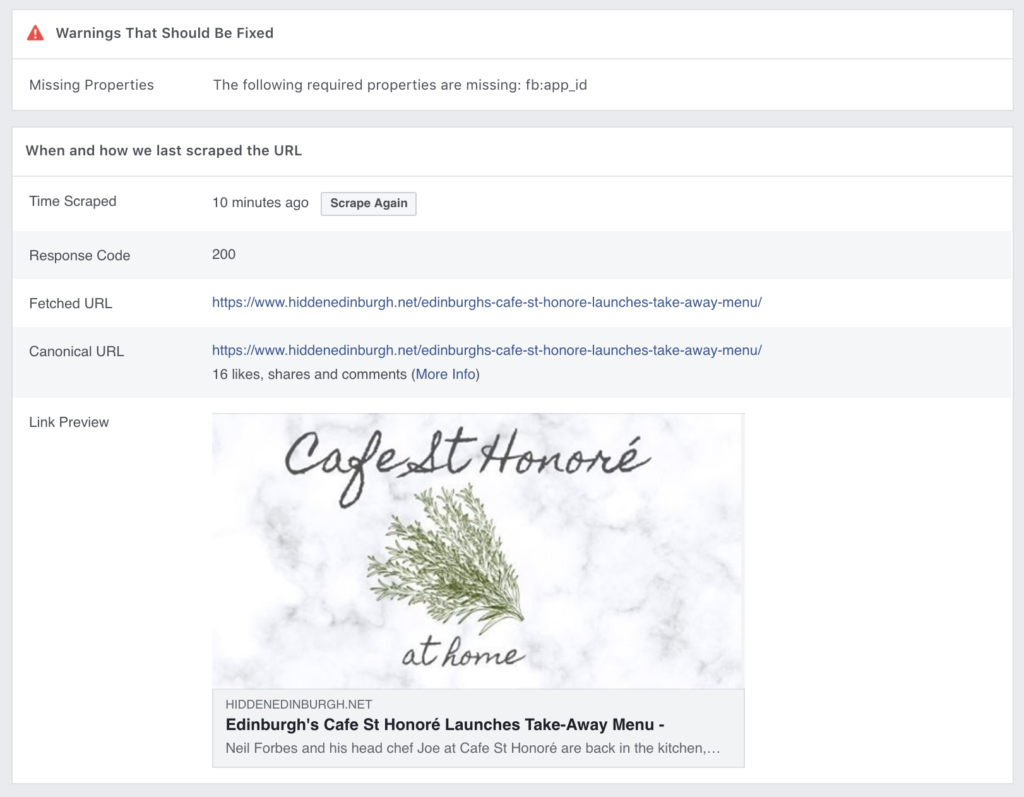
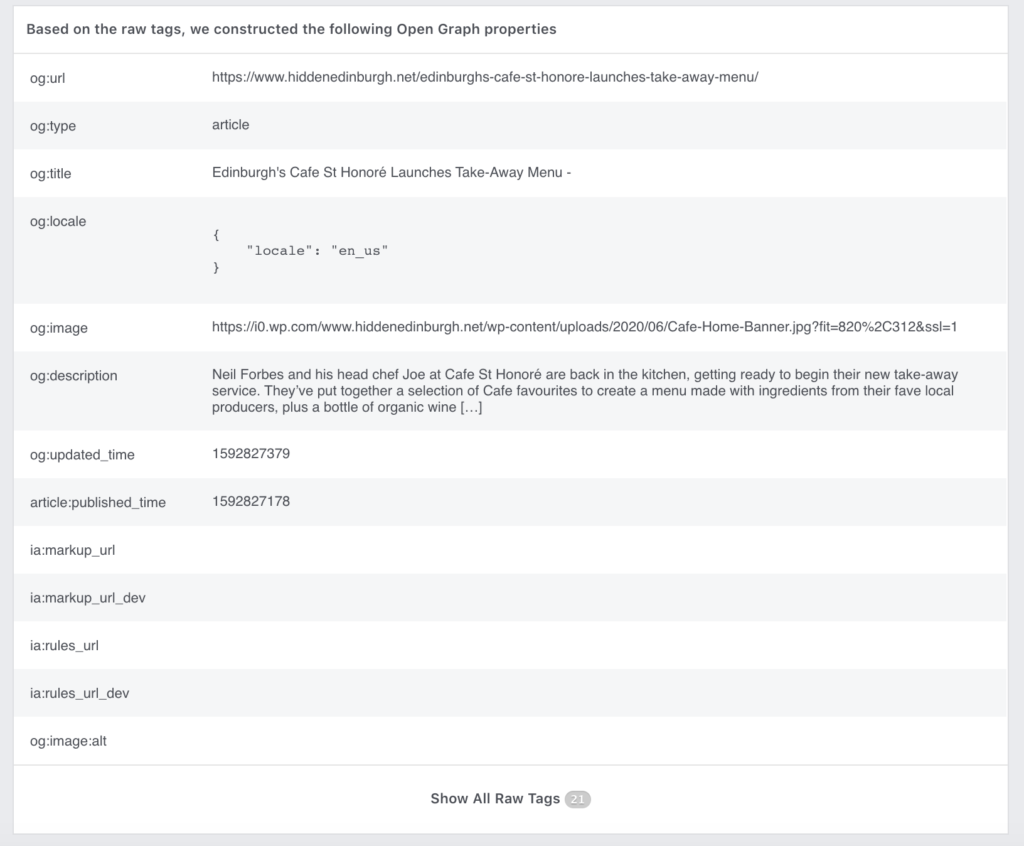
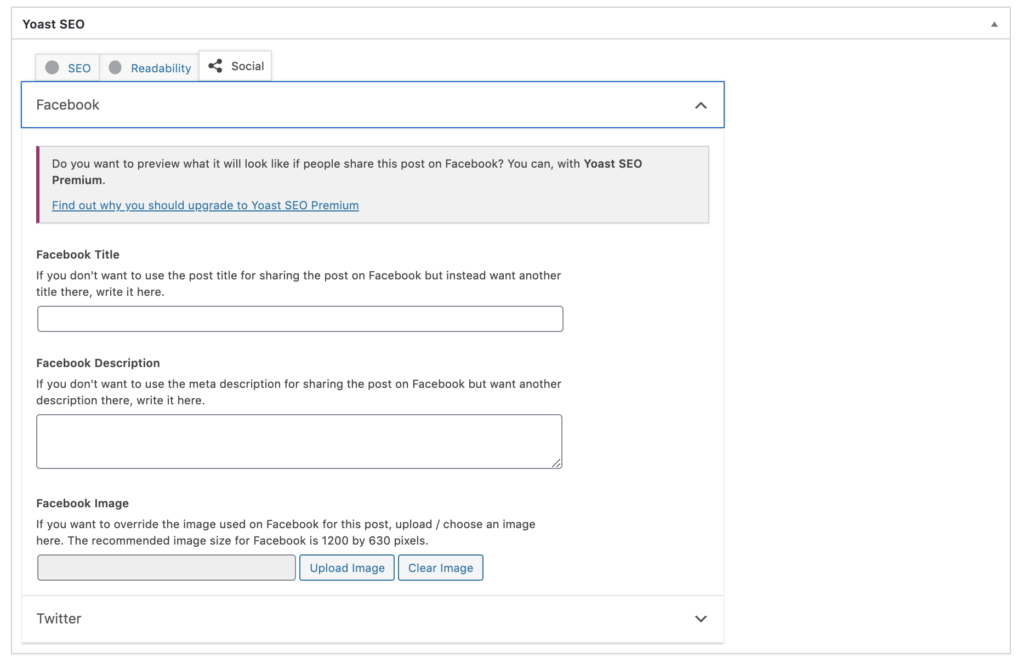
For example: if you discover the info it has cached on your page is wrong, go to the backend of your WordPress website and navigate to the page you want to edit.
Scroll down the page until you reach to the SEO section (we are using the Yoast SEO plugin for this example)
You can then edit the Title, Description and/or Image
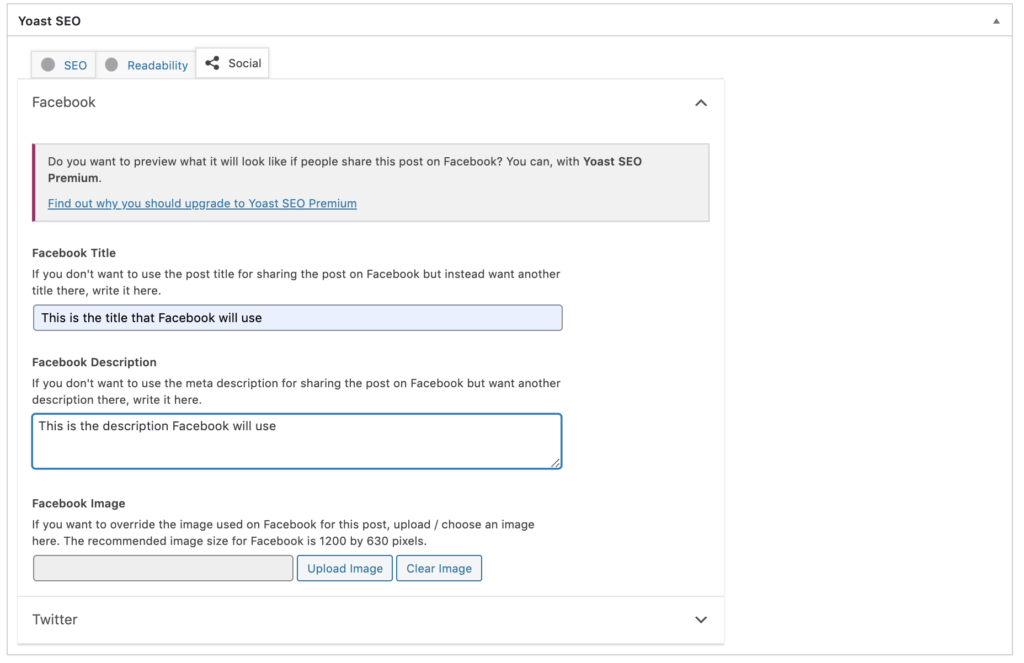
Once you make these changes, that is not the end of the process as even though you have fixed the wording or image, Facebook still has a cache of the old page.
So head back to the Facebook debugger tool and hit “scrape again”. This will force Facebook to take a new up-to-date cache of your page.

And voila that’s the problem fixed!
Link Your Facebook Page To Your Website
If you think the process we have just described above sounds like a ‘faff’, there is another trick you can do to edit the text and image directly when you upload a website url you own or manage to a Facebook page you also manage.
Go to your Facebook business manager
Click on Brand Safety
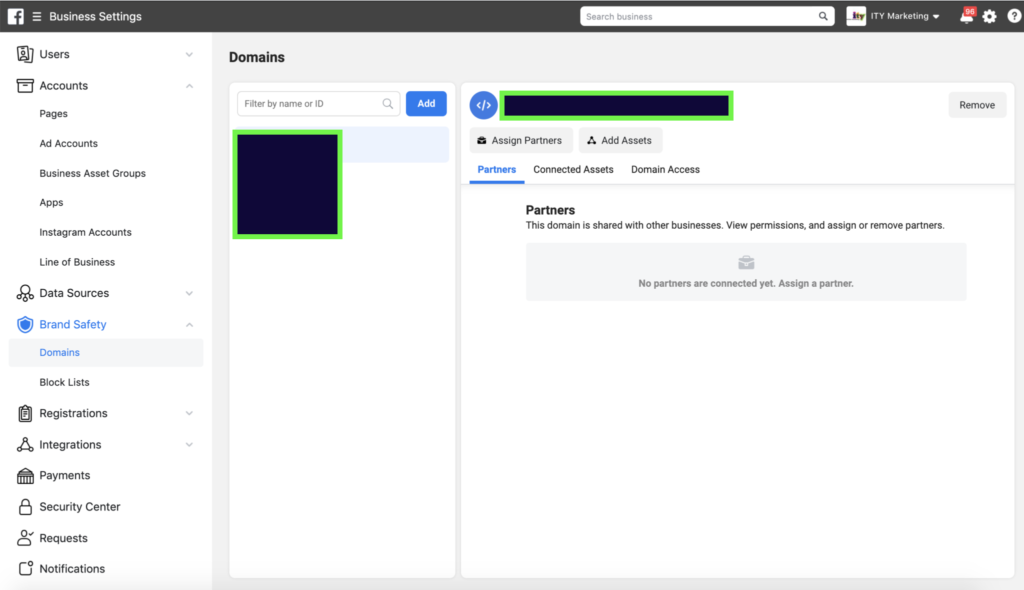
And then click on “Connected Assets”. Here you can link your page to your website which means that Facebook knows you own the website and when you load any link from that website to your Facebook page you can edit the Open Graph data directly on the Facebook page.
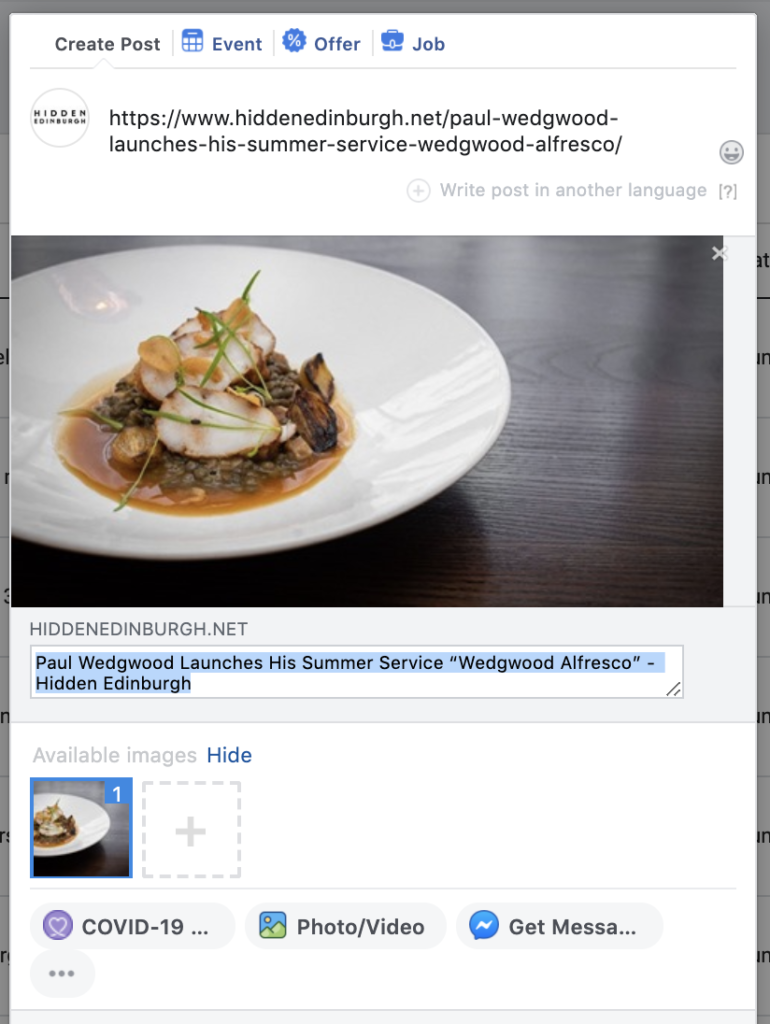
If you want to discover more about Facebook pages and how to grow your business online, check out our Knowledge Hub or drop us an email.
